Ah, if only it were that easy to just point and click!
This might be obvious to some, but checking out that nifty little book that comes with your camera can be a great resource to the settings and functions your camera has! :) Because I want to keep these tips simple, I will address the two functions that I feel are most important when I take my photos.
Focus:
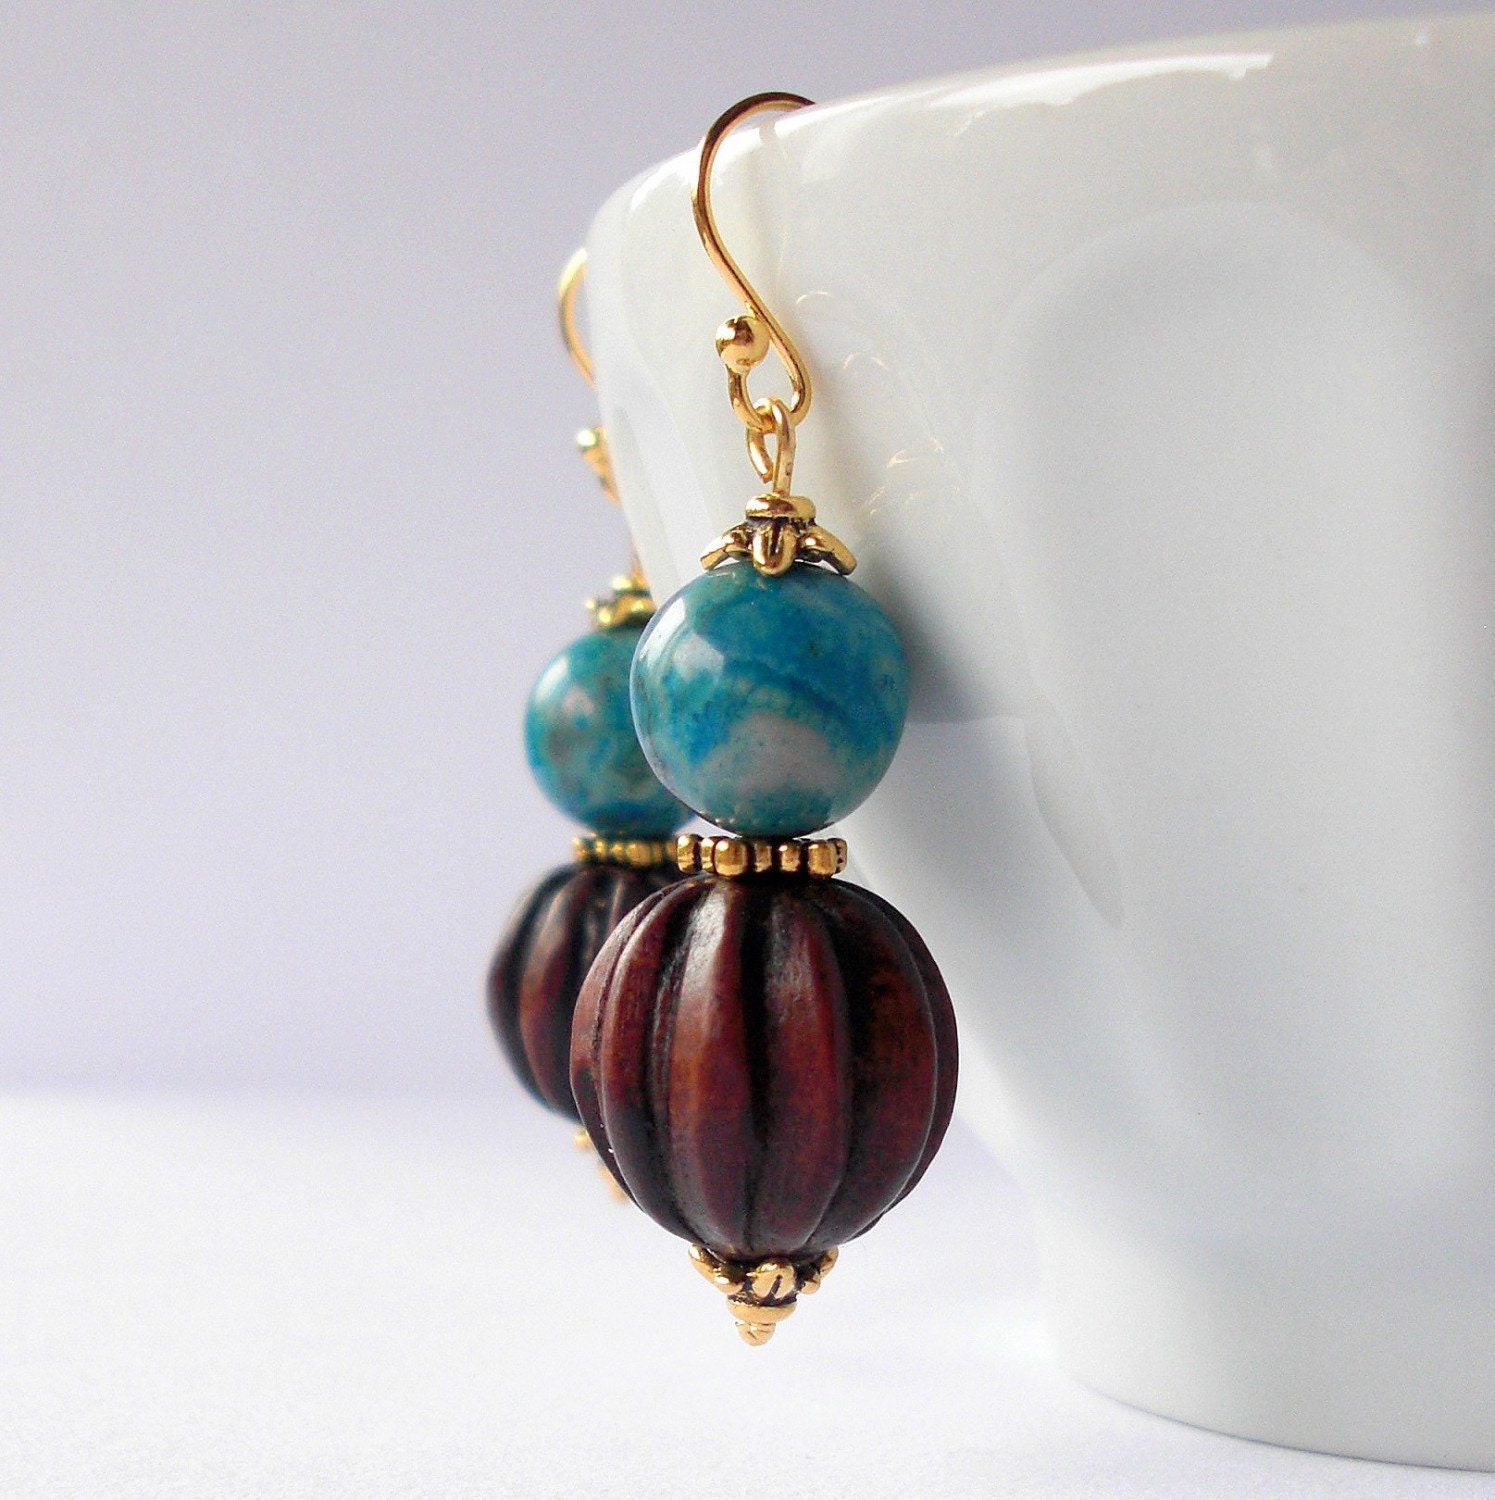
- For those taking photos of jewelry or other small items with detail, macro mode is essential! Macro mode allows you to take photos very close to the item and with extreme detail instead of just zooming in. I always use macro when I photograph my jewelry in order to capture tiny components and subtle textures that would otherwise be blurry in the normal setting.
- To find macro mode on your camera go to the "menu" of your camera. (Consult nifty book.) Macro mode is generally easy to find and most often depicted by a flower symbol.
- Macro mode replaces the need to zoom in. Zooming in addition to macro can make your photo too blurry. Remember, macro already allows you to get very very close to your object. Try photos at various distances to see what works for you. (It is ok if you are a little farther away but getting a nice photo. We can crop it closer later! )
EV
- EV or "exposure value" has to do with how much light goes into the camera lens. With this setting you can adjust the exposure before you take your photo.
- You will see the letters EV or a -/+ symbol for this function on your camera. Before you shoot, you may notice that your object is brighter than you would like it. Adjust the EV lower (minus sign) to darken the photo. If you find you are taking pictures on a rainy day and the object seems too dark, adjust it upwards (plus sign) to allow more light.
- This is definitely a function you will need to experiment with, but you will begin to see how much you need to adjust in certain situations. Remember it is digital so feel free take numerous photos!
One more tip before you shoot! When you turn your camera on do you see a little square in the middle of your screen? Gently hold down the shutter button halfway and note the color of the square now. If you press the button half way before you shoot, you give the camera time to adjust and the light will turn green. Press down fully to take your photo. If you are not in an optimal setting, the little square will be red to warn you. Lift your finger, adjust your distance or settings and try again. Isn't technology great?!
Join me in my next post where we get into the juicy details of cropping, aesthetics and how to edit your photos to get those colors to pop!
Thanks so much for the tips! Now I understand how the macro works!
ReplyDeleteExcellent tips! Pictures are the worst part of the process for me but this might make it easier.
ReplyDeleteThanks,
Vicki
Just found your blog...thanks so much for the tips and tricks...heading over to you etsy shop now! Go etsy NJ!
ReplyDelete{{gypsy hugs}}
beth
Very helpful! Thank you so much for the tips. By the way, adorable banner!! I also love the photograph!
ReplyDeleteGreat post. I've done a similar one, and people don't realize the importance of good photos! Your bowl looks just like my Ikea bowl that I used for my vintage jewelry pieces!
ReplyDeletePictures are the hardest part. Great tips!
ReplyDeletegreat advice and lovely photos!
ReplyDeleteGreat advice! Thank you!
ReplyDelete